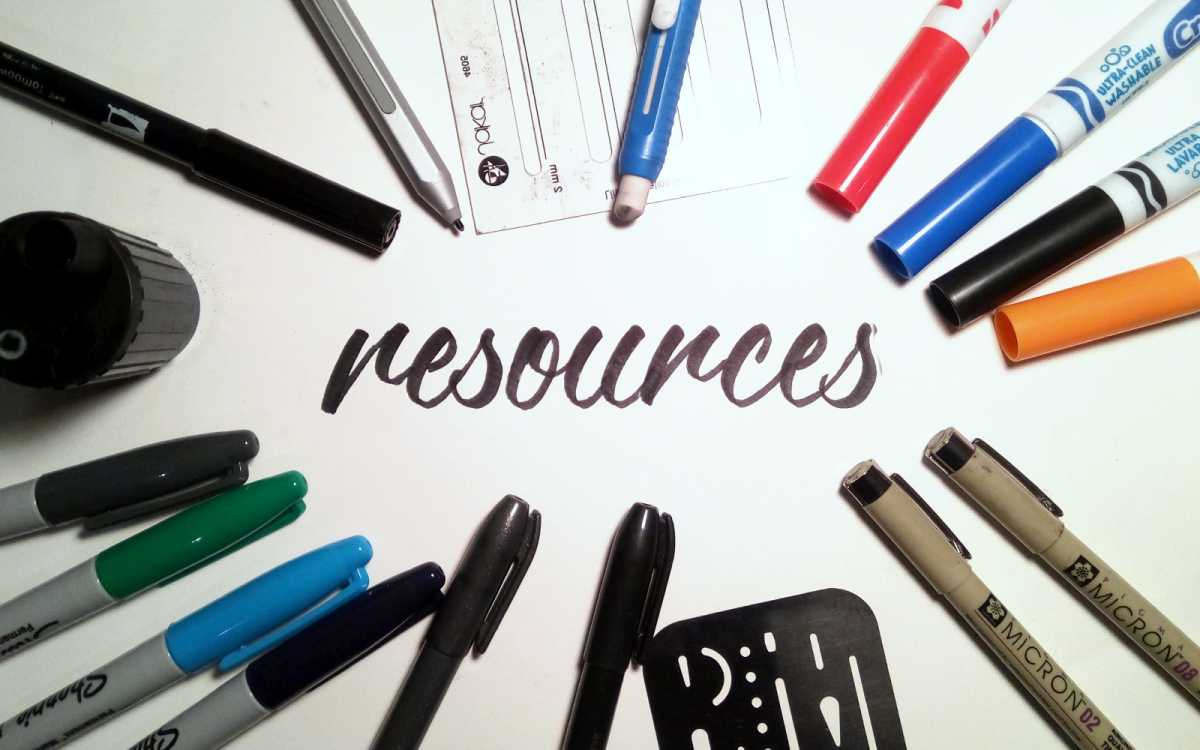
This post is going to talk you through a few of the hand lettering resources I use to produce the lettering and calligraphy you see on my Instagram profile, or during my #DoYouSpeakDevon project hand lettering Devon dialect. Back in March I was mentioned in a conversation by Exeter Hour on Twitter. Clare was looking for calligraphy classes in Exeter, and although I’m not a classically trained calligrapher myself, I offered to share a few of the lettering resources I’ve found particularly helpful on my journey through learning and improving my lettering skills.
— #ExeterHour (@Exeter_Hour) March 9, 2018
This isn’t an exhaustive list of everything I own, over the past couple of years I’ve acquired a cornucopia of different pens, pencils and other items to experiment with. This is just a list of some of the more useful lettering resources I own, and the ones I find myself coming back to again and again.
I should also stress that you don’t need all of these tools to start lettering either. You can recreate any style of lettering with nothing more than a pencil and a piece of plain paper.
You can recreate any style of lettering with nothing more than a pencil and a piece of plain paper.
Pencils and Pens
Fürst 2.0mm clutch pencil
I have Richard Weston, of the fantastic Acejet 170 blog to thank for introducing me to these pencils. Their solid metal barrels, removable pocket clips and hefty 2mm leads come together to create a quality pencil with a nice nice weight to it (they’re also quite sturdy – one of my pencils has been through two washing machine cycles and still works fine).
The pencils are made by Koh-i-Noor in the Czech Republic, who seem to be retiring the Fürst moniker and branding the pencils with their own name. At the time of writing Nook still has some Fürst pencils in stock, otherwise you can order the Koh-i-Noor branded pencils from Amazon in orange or in yellow.
There’s also a 5.6mm version which I haven’t used, but a few people I’ve spoken to on Twitter swear by.
Sakura Microns
Microns are high quality fineliners that many letterers use for refining lines and filling in shapes. They come in a range of nib sizes, and give a sharp, consistent and solid black line.
You can buy a pack of six to get you started, or splash out on a pack of nine for a bit more variety in you nib sizes.
Crayola Colouring Pens
I can’t tell you enough about just how versatile and useful these pens can be. They come in a range of colours, they lay down ink really well, the tip is flexible, and they’re shaped in such a way that you can create different thickness in your pen strokes really easily (an essential element of brush script lettering).
Still don’t believe me? The fantastically talented Colin Tierney has a whole Instagram feed dedicated to art of lettering with this style of marker.
You can buy a pack of Supertips here |(although you can usually pick these up very cheaply during the back to school sales at supermarkets). You can go for the slightly wider-tipped Broadline markers. If you’ll be carrying them around in a pencil case with you, the Pip-squeak markers offer the broad tip in a shorter package.
Sharpies
Sharpies are a great pen to have around the house anyway due to their ability to write on pretty much anything. When it comes to lettering they offer a solid pen that lays down thick opaque colour on a page. They also give you the option to letter on a wide variety of surfaces. New York designer Tim Goodman used Sharpies to draw 99 photo frames on a hotel wall, and lettering artist Adam Vicarel used Sharpies to create this amazing chair artwork.
A multi pack of sharpies like this should give you all the colours you need for a long time.
Brush Pens
Brush pens have flexible tips that allow you to draw both thick and thin lines. This allows you to create brush lettering style scripts with a spontaneous style as well as drawing more formal calligraphic style text. This makes them a very useful lettering resource, and one you’ll be returning to again and again.
Every bush pen has a slightly different feel to the tip, and you may find some easier to work with than others. These are some of my favourites in no particular order.
Pentel Fude Touch
This Pentel pen has a long flexible tip that’s fairly firm. This makes it ideal for beginners to get to grips with the varying widths you can achieve with a brush pen.
It’s available in a range of colours like black, orange and blue.
Zebra Disposable Brush Pen
This Zebra pen is available in both soft and firm varieties, giving you the option to choose the pen that suits you. This pen’s tip is capable of drawing a really fine line, allowing you to create high-contrast in the thickness of your letters.
You can get the Zebra pen from Amazon.
Tombow Dual Brush Pen
The Tombow dual is a staple pen for many letterers, and for good reason. It offers a large, very flexible brush tip on one end, and a fine stiff tip on the other for refining your lines and adding detail.
These Tombow pens are renowned for having a relatively short life span, but their low price makes up for this. As well as black, you can pick them up in a huge variety of colours, or even grab a multi pack.
Tombow Fudenosuke
The Tombow Fudenosuke is a fairly fine-tipped brush pen, meaning you’ll either be producing low-contrast lettering with it, or you’ll have to keep your text fairly small to achieve a relatively higher contrast between thick and thin. The advantage of these, however, is that the tips are fairly firm – making them easier to control.
The Tombow pen is available in both hard tipped and soft tipped versions.
Paper and Sketchbooks
Tracing Paper
By and large I don’t use much in the way of special paper for lettering. I’ll generally use standard printer paper for sketching because it’s cheap, and you will get through a lot of paper when you’re sketching.
One thing I do find very useful though, is tracing paper. Firstly it’s smoother than normal paper, so it helps to preserve the tips on your brush pens, and secondly, it allows you to layer and refine your work by tracing over your previous version adding additions and improvements as you go.
I buy these packs of 100 tracing paper sheets which give me plenty of sheets for a good price.
A6 Plain Notebook
These are handy for carrying around with you and sketching on the go.
The notebooks by Moleskine are a popular choice, the quality is great but they’re a bit rich for my blood. I tend to buy cheaper sketchbooks like these so I’m not afraid to fill the pages with work.
Digital Lettering
Microsoft Surface Pro 4
Towards the end of 2017 I picked up a Surface Pro 4. The ability to sketch and draw directly onto the screen has been a game changer for me, allowing me to draw, sketch, refine and illustrate my work within an app, that I can then export directly to Instagram.
Whilst the ability to draw digitally is not essential to somebody starting lettering, if you’re in the market for a new laptop anyway the Surface Pro is a quality piece of Tech, complete with the Microsoft Surface Pen (purchased separately for some bizarre reason) it will get you started on the digital lettering journey.
Chalk Markers
Superchalks
Liquid chalk markers give strong flat colour finish on glass, blackboards, whiteboards and most non-permeable surfaces. They are also water erasable allowing you to create eye-catching temporary pieces of art.
I use this multipack of Superchalks, which have beautifully bright colours and give a really solid finish.
Other Equipment
Staedler Mars Lead Pointer
The Furst pencils above have built-in pencil sharpener that brings your lead to a usable point, but this lead sharpener gives your lead a perfectly sharp and precise point.
It’s available from Amazon here.
Freehand Lettering Guide
This simple little ruler allows you quickly and uniformly sketch out the Cap height (top) x-height (middle) and baseline (bottom) lines of your letters whilst keeping them uniformly spaced and parallel.
You can buy it from Amazon here
Lessons and Videos
Skillshare
Other than books, I’ve picked up a lot of my knowledge from the great teachers and classes on Skillshare. You’ll need to sign up and pay around £8 per month to access all the lessons below; but you can use this link to get your first two months of Skillshare membership for free.
Hand Lettering for Chalk Murals by Lauren Hom
The Art of Lettering: Intro to Hand-Drawn Script by Neil Tasker,
Logotype Design: Create Brand Marks with Typography by Mackey Saturday
Logotype Masterclass with Jessica Hische
Layouts for Lettering: Hierarchy, Composition, and Type Systems by Jon Contino
A Comprehensive Guide to Hand Lettering: Creating Graphic and Script Styles by Erik Marinovich
Youtube and Instagram
As well as the classes on Skillshare, I’ve spent time watching some of the technique of some of the talented letterers on their youtube and instagram videos such as these:
Matt Vergotis
Ryan Hamrick
Martina Flor
John King
https://instagram.com/p/Bf065Hkj4AX/
Scotty Russell (Perspective Collective)
https://instagram.com/p/Bes2mfvjSrh/
April Moralba (Crash Boom Designs)
https://instagram.com/p/BcZLRhAlkgk/
Practice
The most important, and least sexy, of all lettering resources – make time to practice regularly and you will see progress in your work. Even 10 – 20 minutes of regular focused practice will help you to build your skills and make progress.
At the point of writing this post (May 2018) I’ve been lettering for around 4 years, with regular practice only around the last 12 – 18 months, and whilst I still have some way to go I’m seeing more improvement in my work every day.
And that’s it for now
I hope you’ve found this list of lettering resources helpful as a way to get you started. At the point of writing this post (May 2018) I’ve been lettering with regular practice for around 2 years, and whilst I still have some way to go I’m seeing more improvement in my work every day.
I’ll be updating this list with new lettering resources and tools a couple of times a year. Be sure to bookmark this page and come back regularly.
Finally, all the links to Amazon and Skillshare in this article are affiliate links. If you buy the items I’ve linked to I will receive a percentage of the purchase price from Amazon, but you won;t pay any extra. I hope you don’t mind!
Get hold of some tools, get practising, and be sure to share your work, and your own recommendations for lettering resources, with me on Twitter or Instagram. I’d love to see how you’re getting on.


